SoftComply Document Manager app on Confluence Cloud will take your Confluence to a new level. You can edit the content of your Documents using the power of Confluence while the Document Manager adds the compliance aspects to the document management such as document lifecycle and electronic signatures.
Main features include:
- Organising your Documents into Folders;
- Creating Activities (similar to forms) with fields that the users need to fill in;
- Applying approval workflows to your Activities;
- Adding Documents to your Activities that need to be reviewed and approved together.
Book a Live Demo to see the full functionality of the app.
1. QUICK GUIDE of the Document Manager
Install the SoftComply Document Manager from Atlassian Marketplace. During the installation, the app creates 3 new Confluence spaces to your Confluence Cloud instance: Draft, Release and Obsolete Space of SC Document Manager. To access the SoftComply Document Manager app, go to your Confluence Cloud -> Apps -> SoftComply Document Manager. You can find the Apps section on the sidebar.
STEP 1 – Create Document(s) in the SoftComply Document Manager.
STEP 2 – Create a Activity from an existing Lifecycle (or create a new Lifecycle).
STEP 3 – Add Document(s) to the Activity and assign users to tasks.
STEP 4 – Launch the Activity . This will launch the Activity to progress through the workflow as tasks get completed.
STEP 5 – Release Document(s) once the Activity reaches the final step.
Note: Existing Lifecycles have a workflow assigned to them already. When creating a new Activity, you can pick from existing Workflows to be assigned to your Activity.
2. ACCESSING the Document Manager
You can access the Document Manager through Confluence interface. Select SoftComply Document Manager from the left side menu, under Apps.

You will be redirected to the SoftComply Document Manager Dashboard.

3. DOCUMENTS in the Document Manager
In order to manage Documents within the Document Manager, you will have to first create the document inside the Document Manager. You can create Documents from your Document Manager Dashboard clicking on the “+ Create” button in the right upper corner.

You need to fill in the initial details for your document such as Title, Type, Folder, initial version number and the Owner of the Document:

Once created, the Document will appear as a page in your Confluence instance in a space completely managed by the Document Manager app. You can view and edit documents in the standard Confluence view. A Document contains all its versions as children items, each version is a separate Confluence page.
WARNING: For the correct operation of the Document Manager, DO NOT MOVE or DELETE pages inside the spaces managed by the Document Manager, i.e. spaces marked as “… SoftComply Document Manager” NOR CHANGE SETTINGS of these spaces.
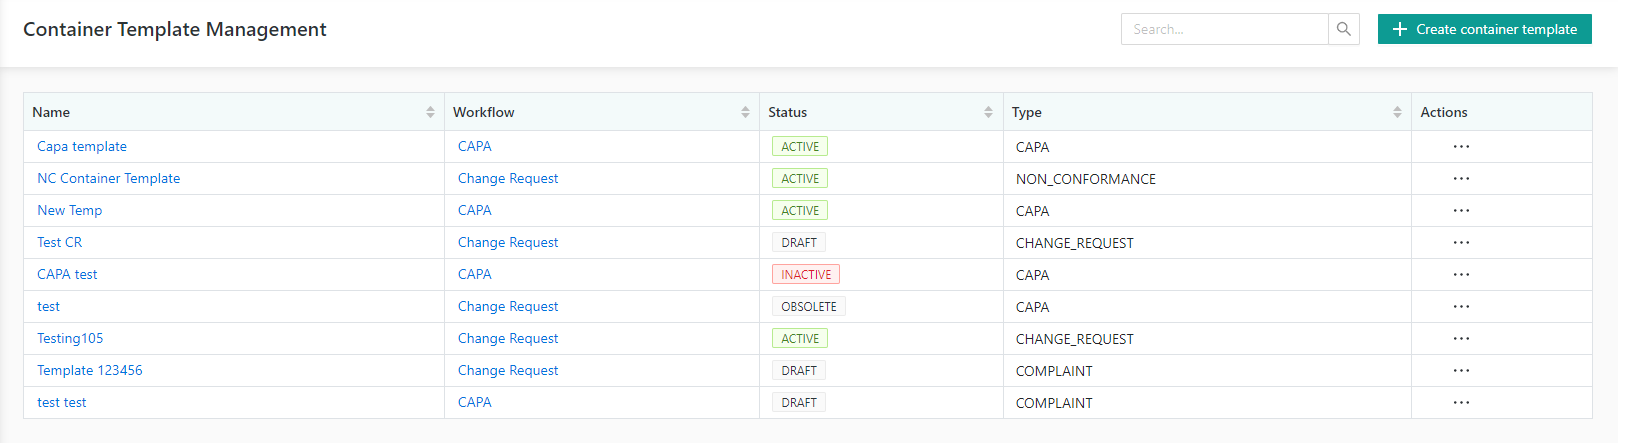
4. ACTIVITIES and Workflows
On the Dashboard of the Document Manager, you will see a list of all the Activities you are the Owner of.
Activities are objects that “carry” documents through different states of its lifecycle. Fields can be used within Activities to add specific information and tasks to ensure all required activities are completed. An activity must be created from a Lifecycle.
There are several ready-made Lifecycles in the Document Manager. Lifecycles can be created, edited, made active/inactive and deleted. The user can also view Lifecycle type, status and Workflow associated to them.
NOTE: Only custom Lifecycles that the user created can be edited and deleted.
You can also create a new Activity from the Dashboard.

Once an Activity is created, you can add Documents. Simply click the “+Add” button and search for the name of the Document(s) you want to add to the activity.
Note that you can add only the Documents that have been created in the SoftComply Document Manager app, that are in the Draft state and that are not in another Activity.

You can also add custom tasks and assign user to the tasks. All tasks must have at least one assignee before the Activity can be launched.

5. E-SIGNATURES Setup
Before you can use e-signatures in the SoftComply Document Manager, you will have to set up your authenticator that generates tokens. These tokens are used to execute electronic signatures in the SoftComply Document Manager app.
You can do the setup in the Settings of the Document Manager app.

The user can also review the status of your signing token in the Settings.
SETUP OF THE AUTHENTICATOR
If a user does not have a paired authenticator, the following view is displayed:

Click on “Enable signing” to start the process of pairing an Authenticator installed on your mobile phone with the SoftComply Document Manager app. Enter the first code to complete the pairing.

The Document Manager app will generate a QR code. This code is unique for each user and is based on the user currently logged into the Document Manager app. The user must scan the QR code with an Authenticator installed on their mobile device to create a new account. A 6-digits code is then generated by the Document Manager app and refreshed every 30 seconds.
This is the token used to execute electronic signatures in the SoftComply Document Manager app.
Validated Authenticators
The following authenticator have been validated for use with the SoftComply Document Manager:
- Google Authenticator
- Microsoft Authenticator
For both Android and iOS platforms.
MANAGING E-SIGNATURE TOKENS
When set up, the user can visualize the relevant information about the e-signature token, such as the setup date, last attempt and number of failed attempts.
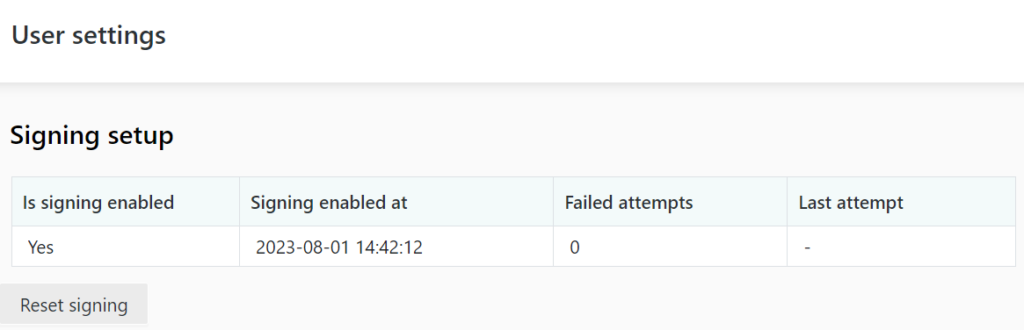
The use can Reset the token by pressing “Reset signing”. The paring with the Authenticator is sieved and the user cannot execute electronic signatures until the pairing process is completed again.
6. DETAILED MANUAL
For detailed product manual, please continue to the SoftComply Document Manager Manual.