SoftComply Validation for Risk Manager Plus is an app that automates integrity checks of Jira Cloud in regular intervals – 1 x a week.
1. Installing the Validation app
The Validation app can be installed directly SoftComply Validation for Risk Manager Plus | Atlassian Marketplace. Like all Atlassian Cloud apps, you can Trial the SoftComply Validation app for free for 30 days.
2. Automated Test Executions
The Validation app runs automatically. Tests are executed once a week, and the results are made available on the Validation app’s page in Confluence. From there, you can download the relevant validation documents.
3. Validation Results
3.1 Viewing Test Execution Details
On the Validation app page, you’ll find a summary of all past validation runs, including:
Date of execution
Validation run status
Number of passed, failed, and skipped tests
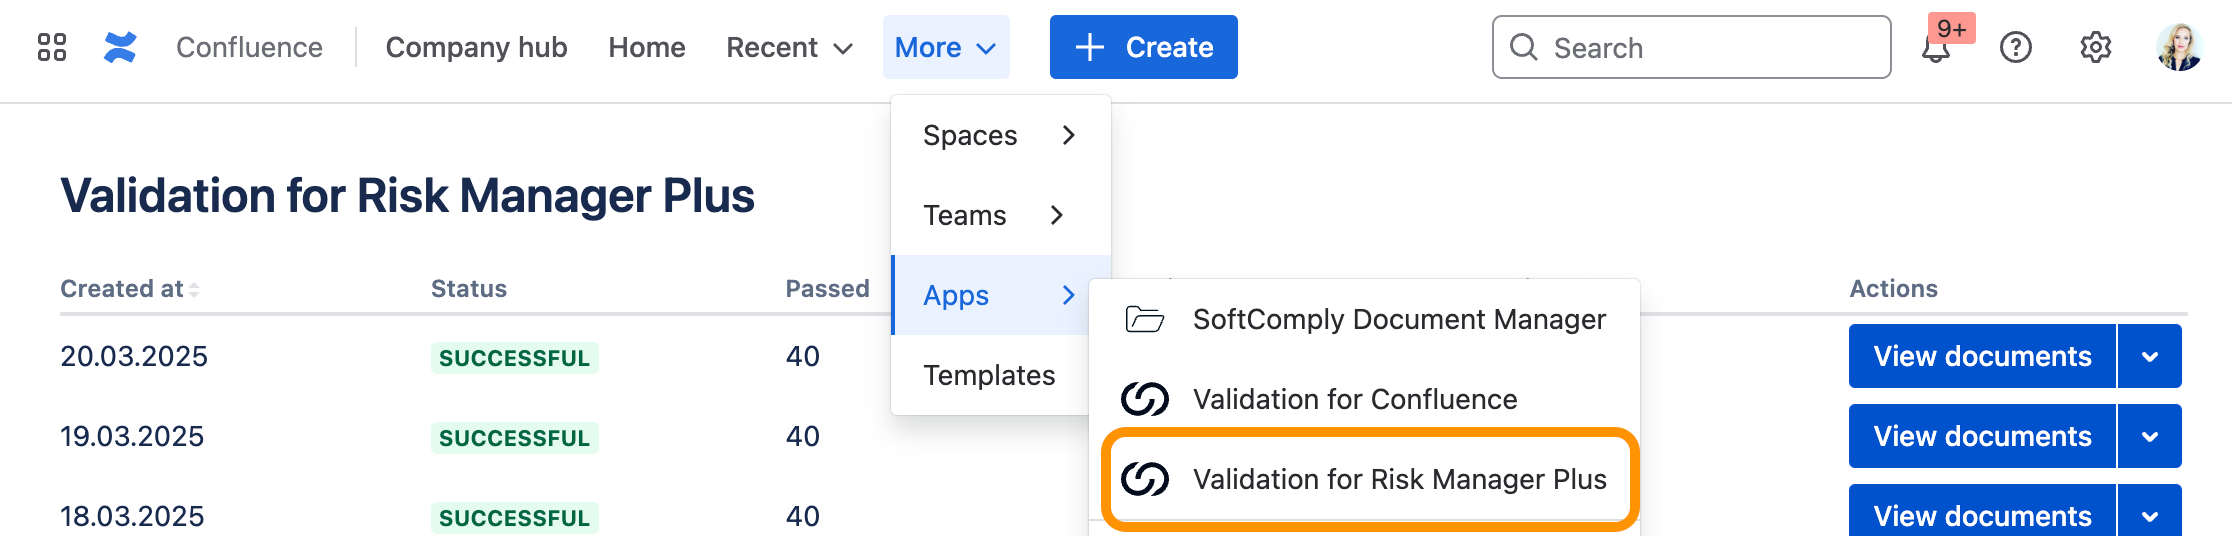
3.2 Accessing Validation Results
Click the Apps menu in Confluence
Select Validation for Risk Manager Plus
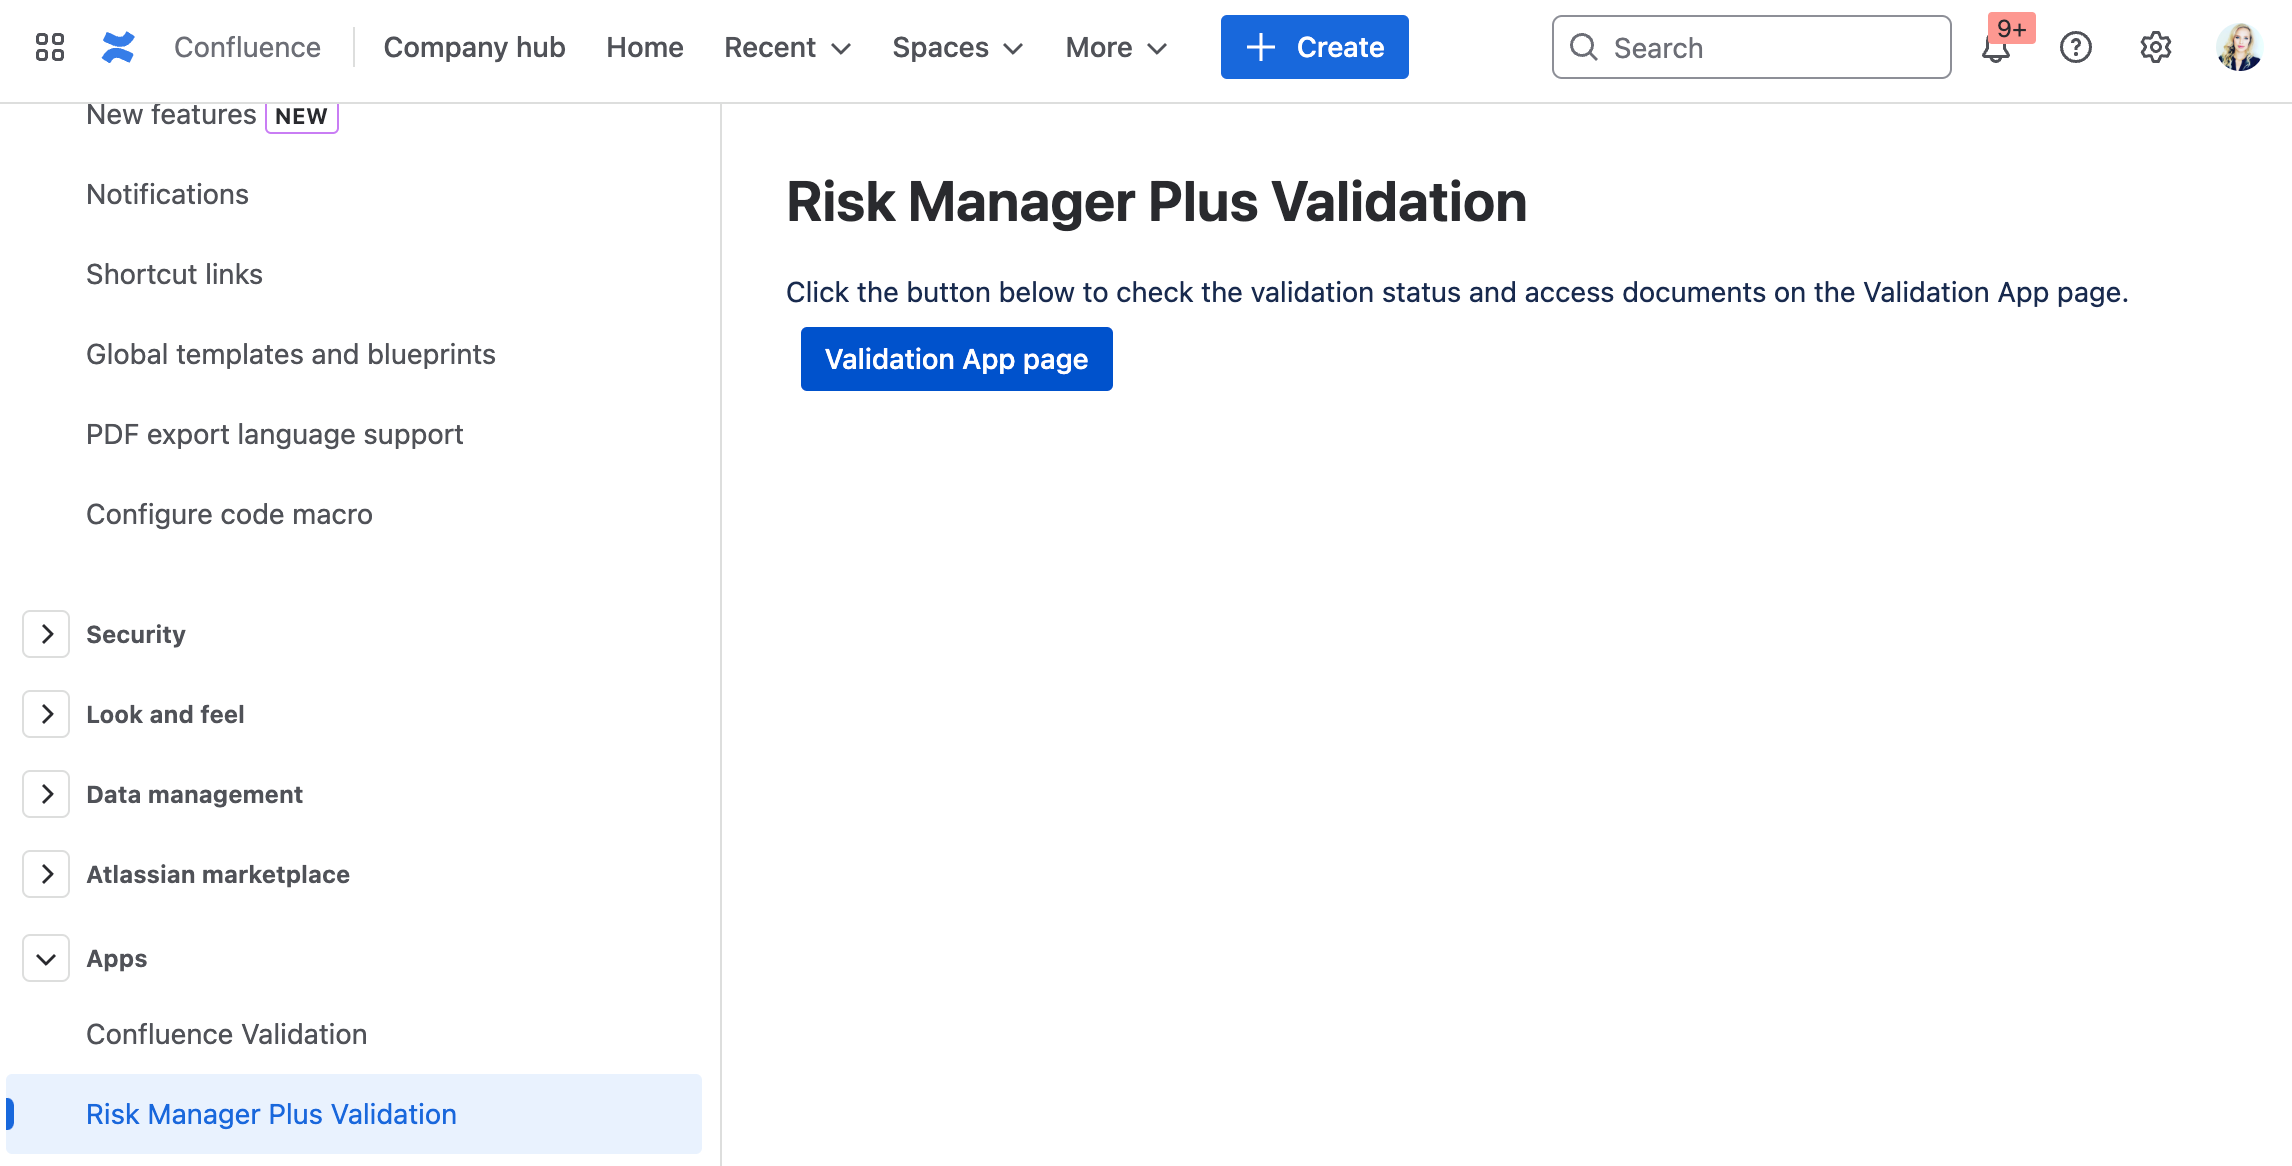
Alternatively, go to the page via the Validation Settings page
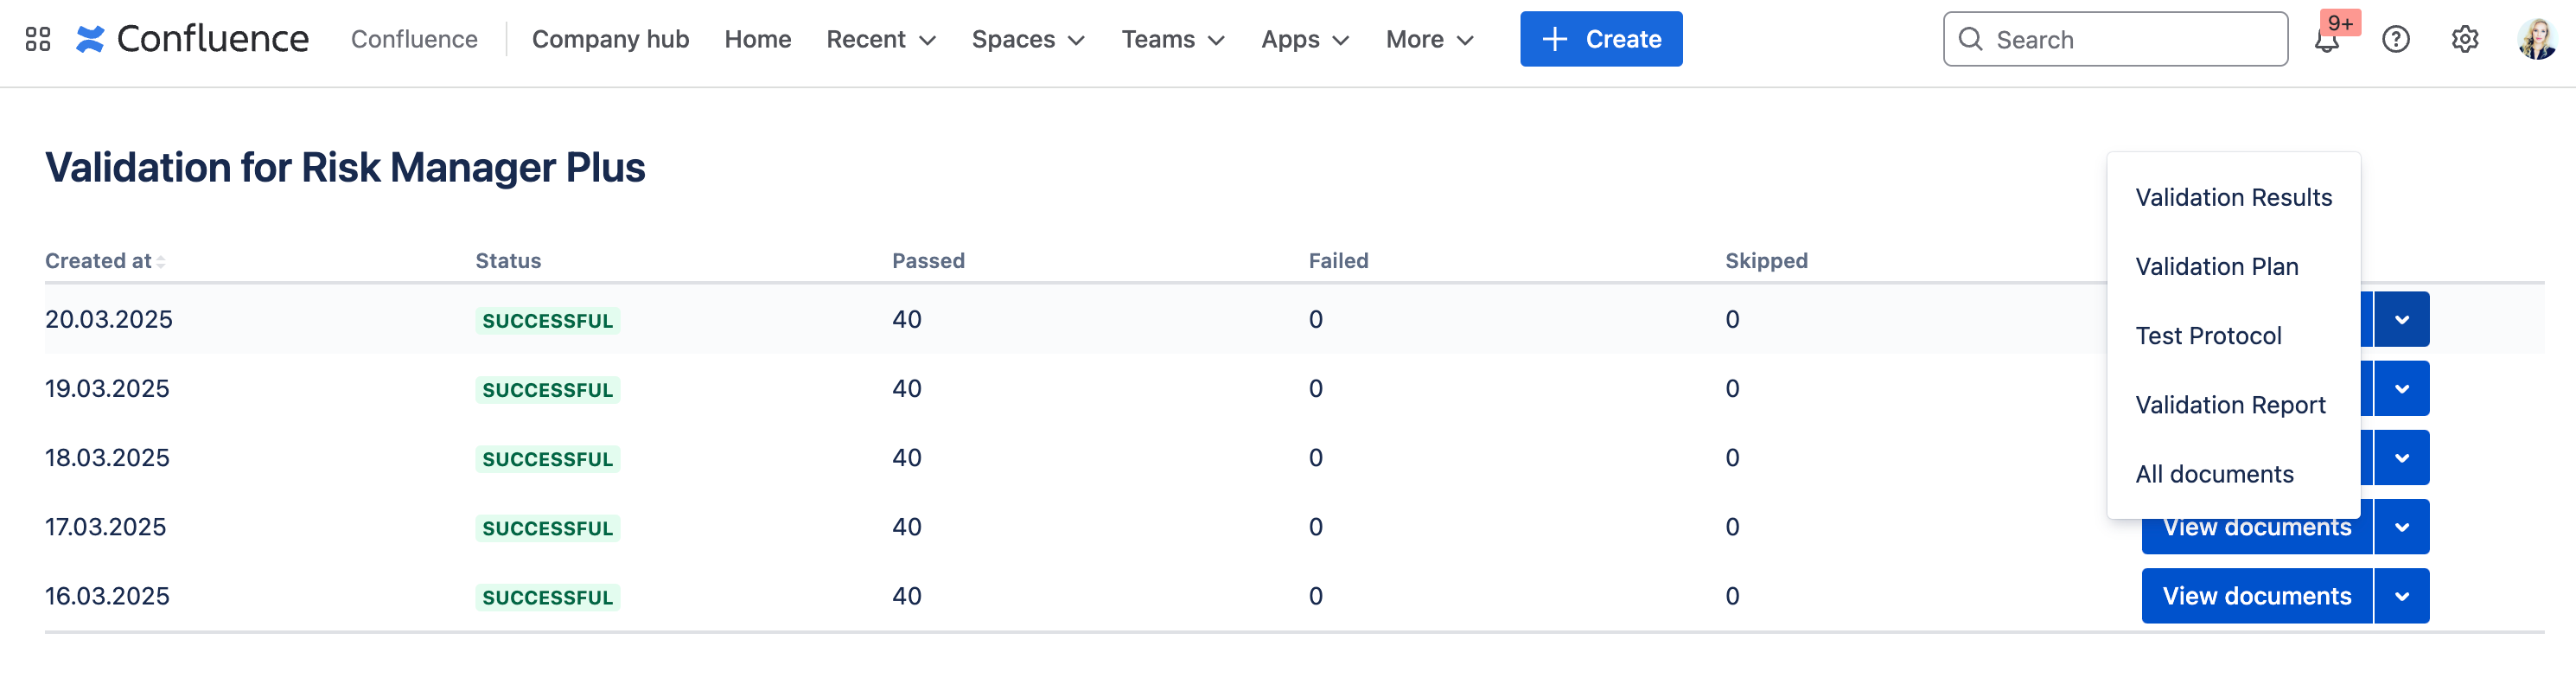
3.3 Viewing the Validation Documents
You can access the Validation Documents by clicking the View Documents button on the Validation app page. You can download:
Each document individually
A .zip file containing all documents
Tip: Ensure your browser supports viewing PDFs directly.
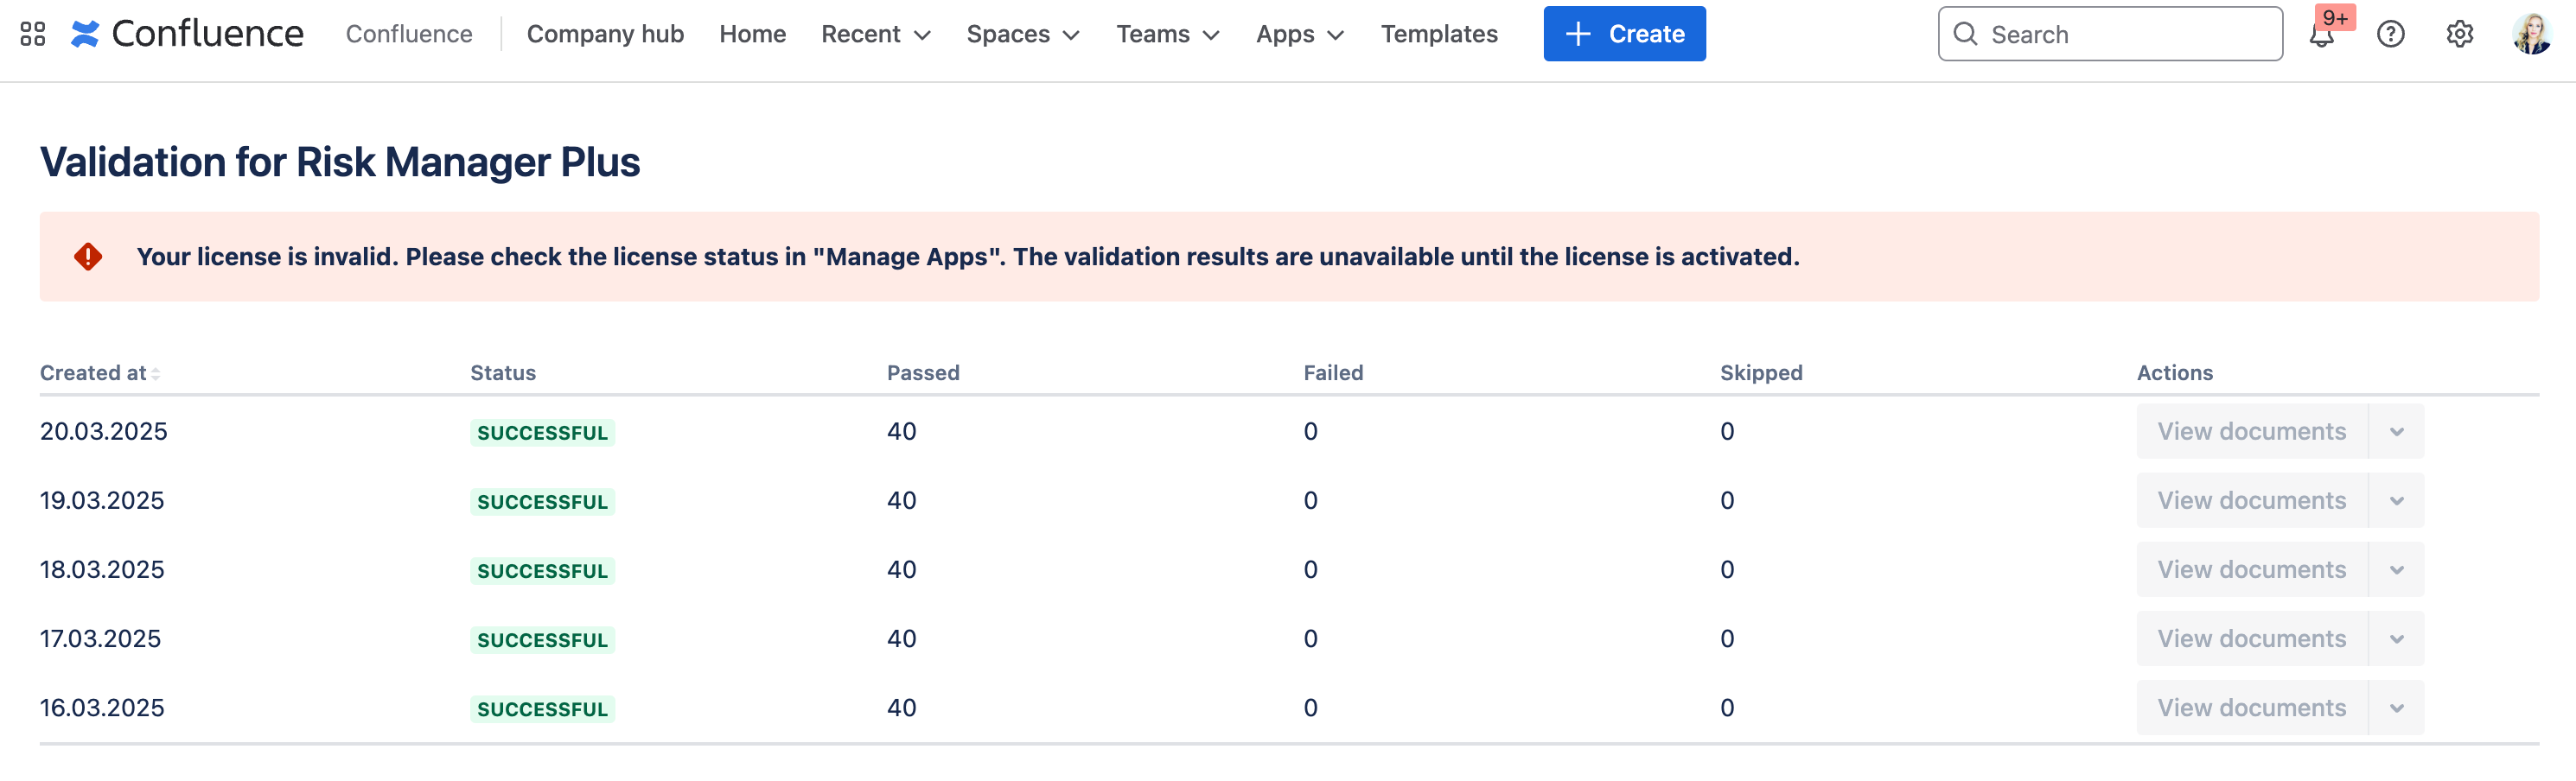
When is the View Report Button Active?
The “View Documents” button is active only when your app license is active. If the license is inactive:
A message appears on the app’s main page
Download buttons are disabled
3. BOOK A DEMO
In case you would like to learn more about the Validation app, you are most welcome to arrange a LIVE DEMO of the app with the SoftComply team.