Table of contents
  • 1. PREPARING FOR THE VALIDATION
    • 1.1. Check Authentication policies
    • 1.2. Check Global permissions
    • 1.3. Create two test user accounts in Atlassian
    • 1.4. Invite test users
    • 1.5. Log in to Confluence
    • 1.6. Create a Jira project
    • 1.7. Create a page for Validation reports
    • 1.8. Add a Jira issue to a page
  • 2. CONFIGURATION IN APP TRIAL MODE
    • 2.1. Select a Reporter
    • 2.2. Create an access token
    • 2.3. Select a Validation Report page
    • 2.4. Save Configuration
    • 2.5. Running the Validation tests
    • 2.6. Viewing Test Status and Other Details
  • 3. CONFIGURATION IN FULL SUBSCRIPTION MODE
    • 3.1. Add test users
    • 3.2. Add Jira issue
    • 3.3. Save Configuration
  • 4. AUTOMATING THE TEST EXECUTION
  • 5. VALIDATION RESULTS
    • 5.1. Viewing Test Execution Details
    • 5.2. Viewing the Validation Results
  • 6. BOOK A DEMO
User Guide of the SoftComply Validation App for Confluence

SoftComply Validation for Confluence is an app that automates integrity checks of your Confluence instance in regular intervals – 1 x a week.


In the case of a test failure, SoftComply Support team will look into the reasons of the failure and notify the user when the validation tests can be re-run again.

Like all Atlassian Cloud apps, you can Trial the SoftComply Validation app for 30 days. There is a limited configuration required also for the trial run that you can follow in this 3-step tutorial:

How to Trial the SoftComply Validation app for Confluence Cloud

1. PREPARING FOR THE VALIDATION

Please follow the steps below to set up the Validation app prior to executing tests.

Alternatively, feel free to follow the video tutorial of the setup:

SoftComply Validation for Confluence - Setup Tutorial
SoftComply Validation for Confluence – Setup Tutorial

1.1. Check Authentication policies

In case your site Admin has set up an authentication policy which uses SSO for authentication, then there should be a separate policy created and used for the Validation app.

Open your site’s Settings view as an Admin user and navigate to User Management page. From the top menu, select Security and open Authentication policies from the left menu. Check that Single sign-on or Two-step verification is not applied to all users. If it is then add a new policy which does not require SSO or Two-step authentication and add the two test users as members under that policy. That allows to log in with Atlassian account username and password.

1.2. Check Global permissions

Log in to your Confluence site as an Admin user and navigate to the Settings. Open Global Permissions view from the left menu to check if confluence-users group have permissions to Access and Manage Spaces, as the Validation app creates a new temporary space that needs to be accessed by the test users.

1.3. Create two test user accounts in Atlassian

The Validation app for Confluence includes tests on user permissions, i.e. it will be checking if a user has access and editing rights to certain Confluence spaces and pages.

In order to do that, please create 2 new Atlassian accounts and assign permissions to them according to the guidance below.

1.3.1 Use any of the mail clients (e.g. Gmail) and create two email accounts

1.3.2 Go to https://id.atlassian.com/signup and create two Atlassian accounts. Enter an email address you created in step 1.3.1 and click on “Sign up” button. After passing reCAPTCHA, you should be able to see a notification about the verification email. You can close the browser and open again this signup link. Repeat the same process, but use another email address. NB! Note that you cannot use emails that are already linked to existing Atlassian accounts.

1.4. Invite test users

1.4.1 As an Admin user log into your organisation’s Confluence site and open the Settings view (cogwheel sign in the upper right corner), select User management.

1.4.2 Click on Invite users button and enter the emails of those new accounts which you added in step 1.3.2. Unselect all product roles and add User role to Confluence. Click on Invite people button.

1.4.3 From the Users list, select one of the test users and assign site-admins role to him/her. This user will be acting as Admin Test user. The other test user, who has only Confluence User role, will be acting as Standard Test User.

Press the three dots at the end of this user line. Select Add user to group and type site-admins into Group name field. Click on Add groups button.

1.5. Log in to Confluence

In order to prepare these two test users for the Validation app tests, it is required to perform certain steps inside Confluence with each of them. For every step listed below, dismiss any wizard / intro pop-up window.

1.5.1 Open the verification email from both test users’ mailbox and go through the verification process.

1.5.2 Set up Atlassian account for both users. This view opens up, when you click on Verify your email button (shown above). Enter the full name and create a password. This should be done with both test users.

1.5.3 After successful login, open Account Settings view and go to Profile and visibility page. Scroll down and make your test user’s email visible to anyone. Again, this should be done with both test users.

1.5.4 Go to Security page and check that Two-step verification is disabled.

Security view
2-step verification

1.5.5 Go to Account preferences page and check that the language is set to English. Currently, the automation framework supports only English.

1.5.6 Go back to Atlassian Start page and click on Confluence icon to open your Confluence site.

1.5.7 Dismiss any wizard / intro pop-up window and skip questions that are asked about the user inside Confluence.

1.6. Create a Jira project

1.6.1 Log into your organisation’s Jira with Admin test user and create a new project. Select any of the templates, select a team-managed project, add a name to the project, set the access to Open or use Default permissions, and click on Create project button. Dismiss any guiding wizards.

1.6.2 Create at least one issue in this Jira project – this issue will be viewed during the validation of Jira issues macro in Confluence. NB! Make sure that the issue that you provide does not contain any sensitive data because the Validation app will take a screenshot of the Jira issue macro that is displayed in the Validation report.

1.7. Create a page for Validation reports

Create a Confluence page that acts as a parent page for all the Validation Reports that the Validation app will generate.

1.8. Add a Jira issue to a page

Depending on the product, global and space permissions, there might additional approval needed for retrieving data from Jira. Accessing Jira is needed for testing Jira issues macro in Confluence.

To add a Jira issues macro to a page, open any of the Confluence pages, open it in Edit mode and click on the “+“ sign from the toolbar. If the search field is disabled and “Login and Approve“ notification is displayed, then Test Admin user should click on the notification and approve the data retrieval.

2. CONFIGURATION IN APP TRIAL MODE

To trial the SoftComply Validation app for Confluence Cloud, you need only to set up a few fields for the tests to run in trial mode. Follow the steps below or check the 3-step video tutorial:

How to Trial the SoftComply Validation app for Confluence Cloud

Log into Confluence as an Admin user and go to the Validation Settings page, which is accessible from the Confluence Settings view. Confluence Admin rights are required for configuring and running the Validation app.

2.1. Select a Reporter

Select a user who will be the author for Validation reports. This user will be displayed as the reporter on the Validation Report page. Only users with public email are shown in the list.

The Validation app uses direct REST API to communicate with Confluence while creating the Validation Report to your Confluence instance.

NOTE: if you are not the Reporter please note that this user needs to generate the access token for the Validation Report and share it with you, so you can add it on behalf of the other user.

2.2. Create an access token

In order for the Validation app to generate the Validation report into your Confluence instance, you will need to provide an Atlassian access token to the app. Please note that this token needs to be generated by the same user who is selected as the Reporter. If the Reporter is changed, then a new token needs to be created.

NOTE: Atlassian access token does not change when you change your password. You can revoke the access token anytime resulting in the Validator App no longer having access to your Atlassian account to generate the Validation Report.

2.3. Select a Validation Report page

Determine the Validation Report location. Only those pages can be selected which are located in spaces where the Reporter has access to.

Select the page you created in step 1.7 and it will become the parent page for all the new Validation Reports.

2.4. Save Configuration

After filling out the fields, you can save the configuration by clicking on Save Configuration button.Just in case, refresh the browser.

2.5. Running the Validation tests

In evaluation version the Validation tests can only be executed manually. To run the tests, click on Execute Tests button. Please note that the frequency of validating your Confluence instance is once a week. The button will automatically be re-enabled 7 days after your last validation.

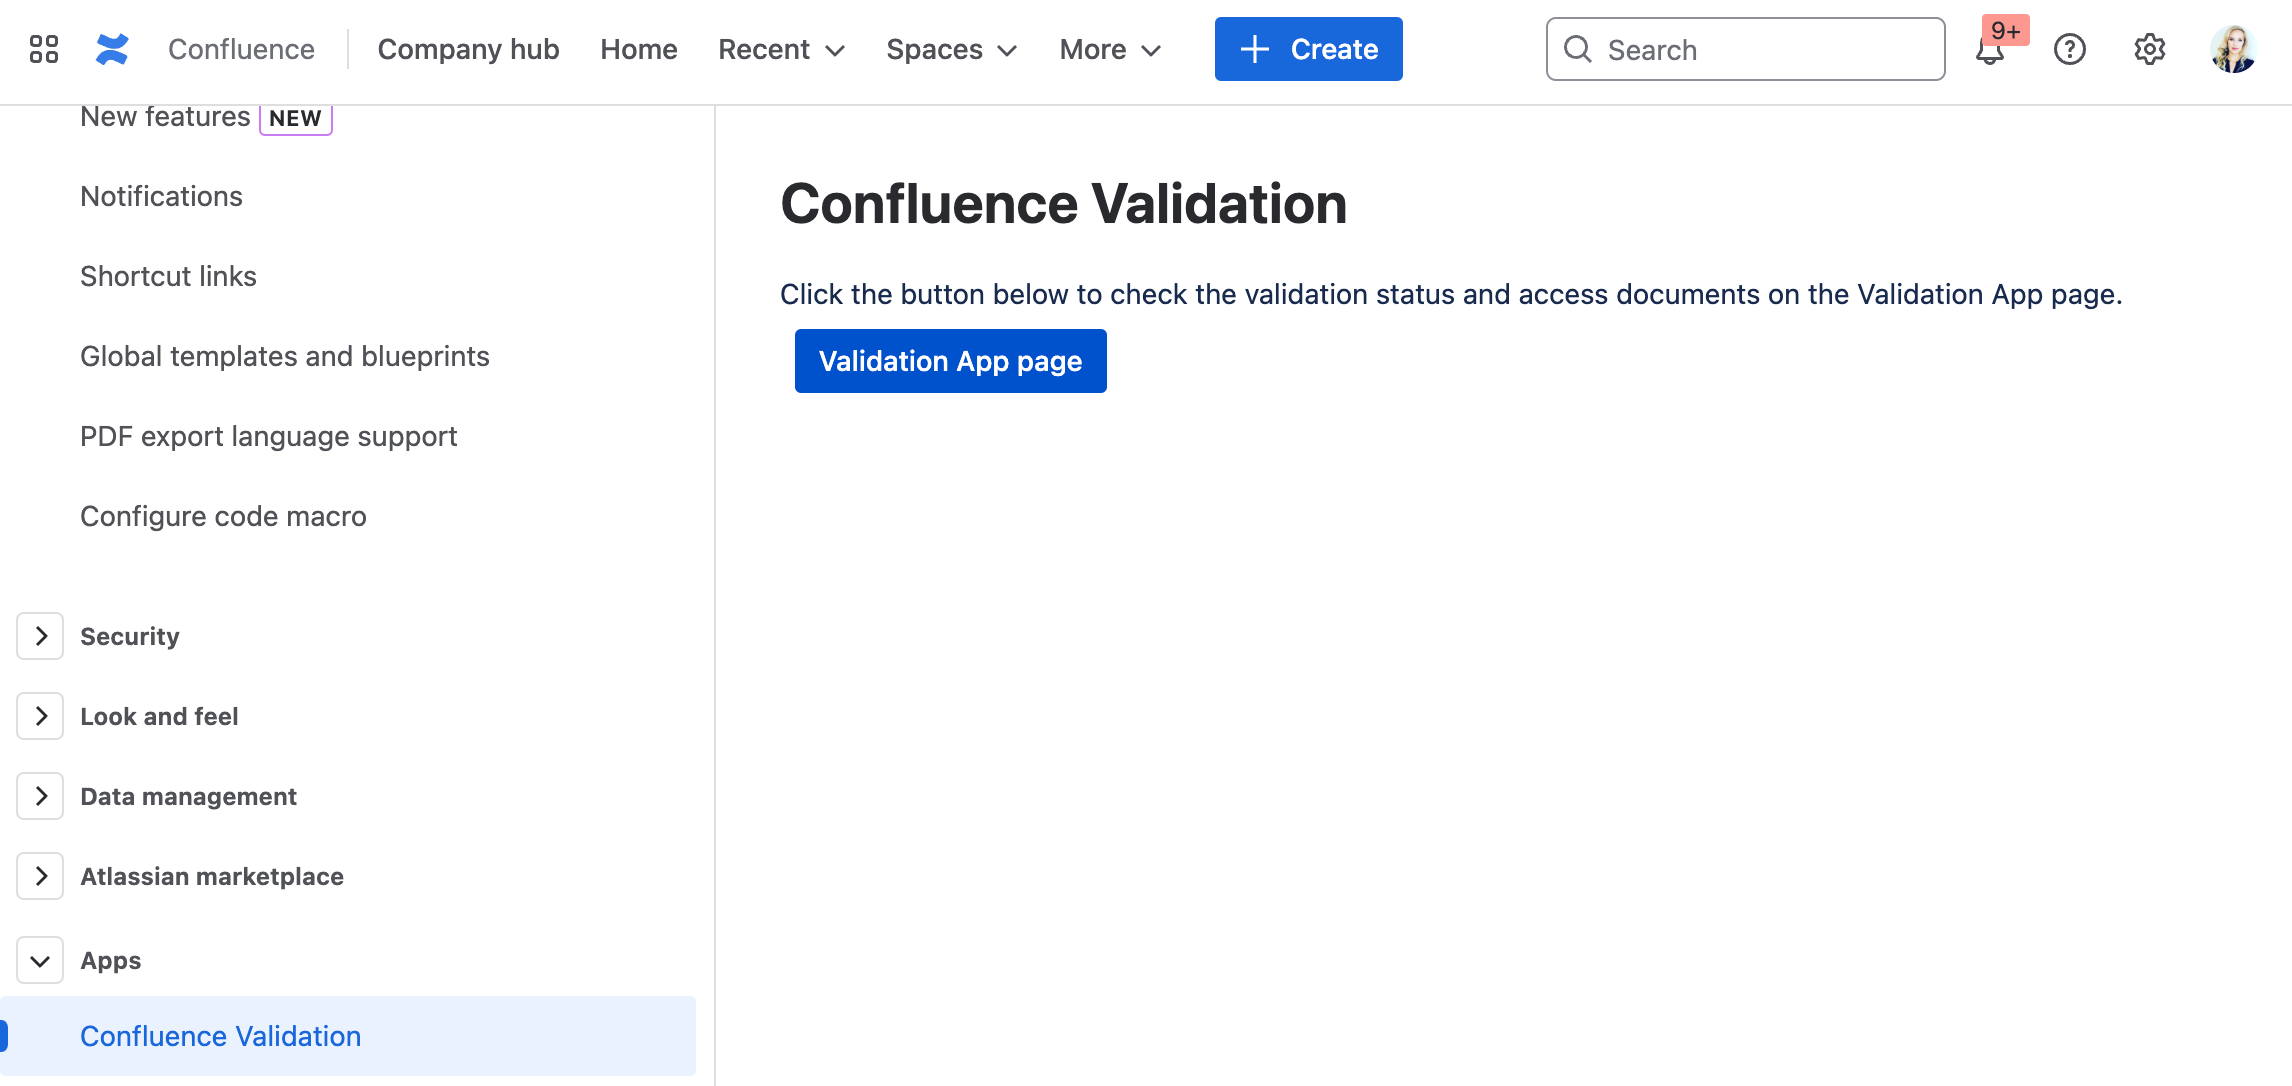
To see the progress of the tests and to open the validation results, click on Validation App page button.

2.6. Viewing Test Status and Other Details

The Validation app page displays all the validation runs that have executed with a summary of the number of test cases executed, finished and/or failed, the corresponding validation run status and timestamps.

Click Apps menu, and select Validation for Confluence. Alternatively, you can access the page from the Validation Settings page (mentioned above).

Test execution is done, when the status is TEST RUN COMPLETED.

You can access the Validation Report when clicking on View Report button from the application page (mentioned above). The button becomes active if the status is completed and the details description is shown as “Validation Report generated“.

3. CONFIGURATION IN FULL SUBSCRIPTION MODE

In addition to the Reporter, Access token and Report page fields two test users and Jira issue fields has to be filled out to get the full validation.

Follow the steps described below or check out the 4-step video tutorial to get the automated tests started on your Confluence Cloud instance:

SoftComply Validation for Confluence - Setup Tutorial
SoftComply Validation for Confluence – Setup Tutorial

As an Admin user, log into Confluence and go to the Validation Settings page, which is accessible from the Confluence Settings view. Confluence Admin rights are required for configuring and running the Validation app.

3.1. Add test users

Select one of the test users, who has site-admins group, as Test Admin User, and provide his/her Atlassian account password. For Standard Test User, select the other test user, who has Confluence User role, and add his/her Atlassian account password.

Both fields show the list of users based on their roles – Test Admin User field shows only users with Confluence Admin role, and Test Standard User field shows only users with Confluence User role.

Please note that only users with public email are visible in this dropdown. If you cant find your test user from the list, follow the step 1.5.3 to make the email public.

3.2. Add Jira issue

Provide a Jira issue, which should be the ID of the Jira ticket created in step 1.6.2 (example format TV-1). The Validation app is testing the ability of Confluence to fetch and display a Jira issues macro.

3.3. Save Configuration

After filling out the fields, you can save the configuration by clicking on Save Configuration button. Just in case, refresh the browser.

4. AUTOMATING THE TEST EXECUTION

You can run manual validation of your Confluence Cloud instance once a week or you can set up automatic test execution for the same regular interval.

To set up the automatic test execution, switch on the scheduler (toggle shown as green) and select a weekday, when the tests will be executed. Once set up, the tests will be automatically executed once a week and the manual test execution will be disabled.

5. VALIDATION RESULTS

5.1. Viewing Test Execution Details

The Validation app page displays all the validation runs that have executed with a summary of the number of test cases executed, finished and/or failed, the corresponding validation run status and timestamps.

Click Apps menu, and select Validation for Confluence. Alternatively, you can access the page from the Validation Settings page (mentioned above).

The “Details” column in the App page indicates whether the Validation report has been generated after the tests have finished or whether something was mis-configured and the report cannot be generated (“Tests run has been started“). Test execution is done, when the status is completed.

There are different statuses for a test execution, which are briefly explained as follows:

  • If the status is COMPLETED then there are failed test cases.
  • If the status is COMPLETED then all the test cases passed.
  • If the status is SCHEDULED then the test execution is waiting in the queue, but will be started shortly.
  • If the status is UNKNOWN then something failed and tests will not be executed.
  • If the status is EXECUTING then the test run has started.

There are three statuses for the reports:

  • Validation Report generated – the report was successfully created.
  • Tests run has been started – something failed and the report was not generated.
  • Failed to generate Validation Report – the report was not generated. Most likely the token is invalid.

5.2. Viewing the Validation Results

You can access the Validation Report of each of the validation tests when clicking on View Report button from the application page (mentioned above). The button becomes active if the status is completed and the details description is shown as “Validation Report generated“.

NB! Opening a Validation report for the first time may take a considerable amount of time (several minutes), as the reports include a lot of evidence in high definition image format which impacts the load time.

6. BOOK A DEMO

In case you would like to learn more about the Validation app, you are most welcome to schedule a LIVE DEMO of the app with the SoftComply team: