1. QUICK START GUIDE
- Subscribe to the SoftComply Change History app (from hereon, Change History) from the Atlassian Marketplace. This step may require Confluence administrator permission.
Note that the SoftComply Change History app captures workflow information from the Comala Document Management app, i.e. make sure you have also subscribed to the Comala Document Management app. The App is also compatible with Comala Publishing, but it is not required to run the Change History App. - After the successful subscription, you will be able to configure the approval information you want to have displayed on your document’s Change History table by going to the Space Settings → Integrations → SoftComply Change History configuration page.
- Configuration of the Change History table has the following three steps:
- Select document approval workflow states to be displayed;
- Select document states in which the Version Notes can be edited;
- Select additional information you’d like to display in the Change History table.
- Now add the SoftComply Change History macro to the Confluence page of your choice to have the selected information displayed in the Change History table on the page.
2. USER GUIDE
Change History app has three main parts:
-
SoftComply Change History macro: when added to a page it displays the Change History table in its body
-
Version Notes can be added from the byline menu about the changes between different document versions or any other information
-
Change History Configuration tab in the Space Settings provides options to define what information should be displayed in the Change History table

The first step to have the Change History table display the information you need is to configure the Change History table settings. You will only have to configure this once for a space. It is most efficient to familiarize yourself with the Space Workflows in the Comala Document Management before configuring the Change History app.
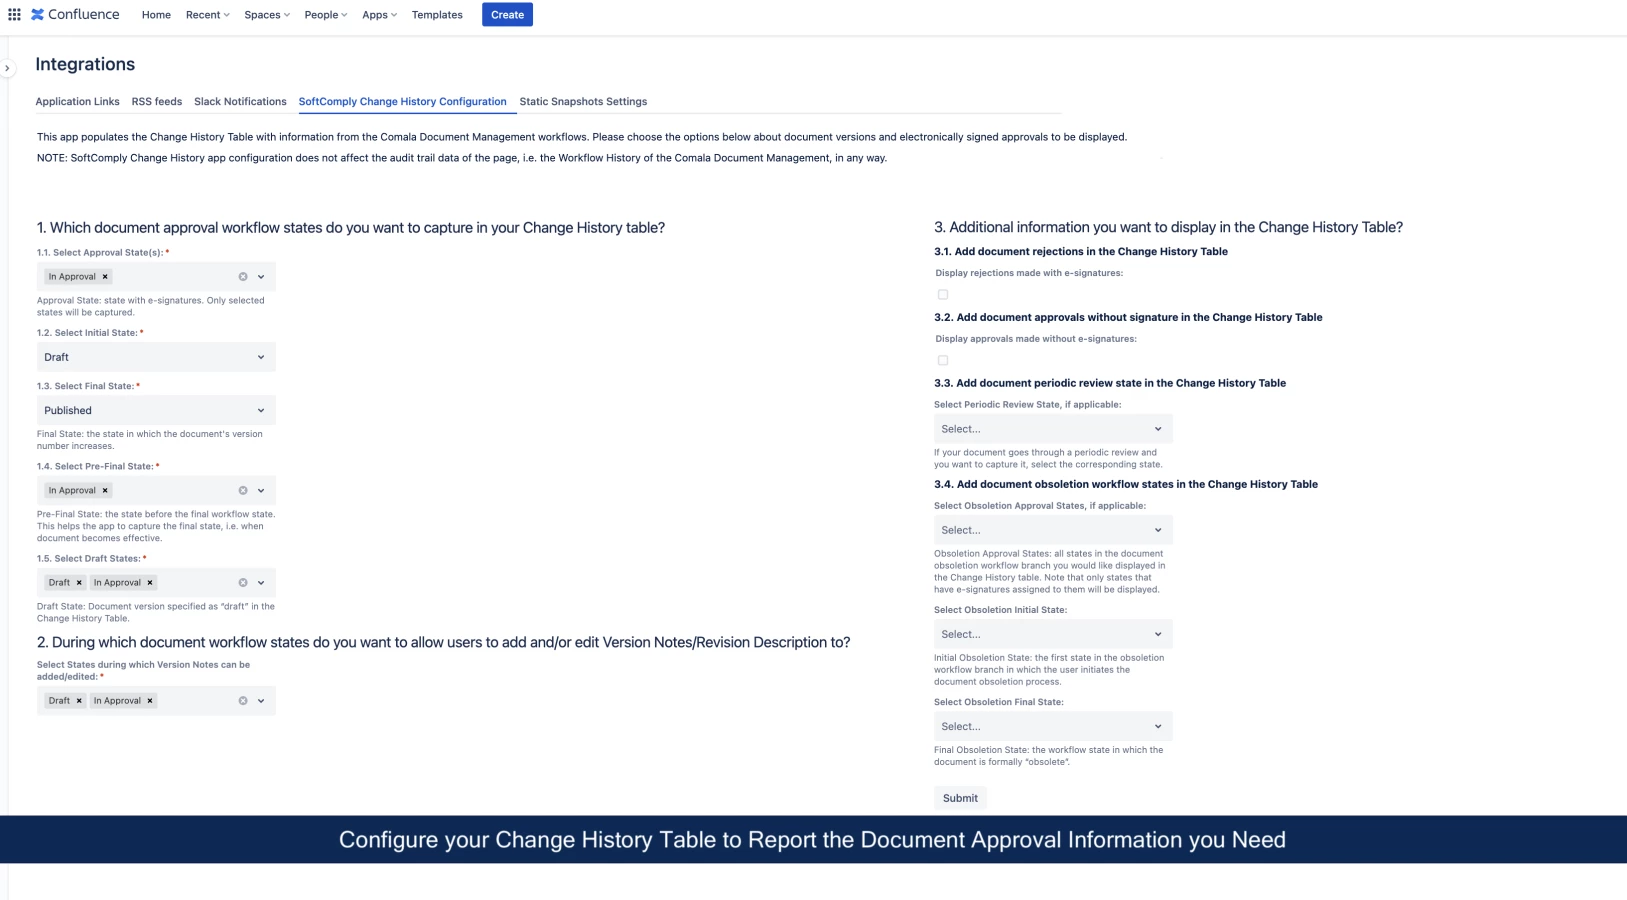
3. CONFIGURING THE CHANGE HISTORY TABLE
To have the information that you wish displayed on the Change History table, you will first need to configure the Change History table. To configure the table settings, you need to have Space Admin permissions.
To do that, go to the Space Settings (in the Confluence space of documents you want to add the Change History table to) → Integrations → SoftComply Change History Configuration tab.
You should see the following view:

The Configuration page has three sections of which the first two require your input. The final section is optional for additional information you may want to capture in the Change History table.
All fields marked with a red asterix are required.
4. SELECTING DOCUMENT APPROVAL WORKFLOW STATES
Comala Document Management workflows are highly customisable and different workflows can have multiple different document approval workflow states. You have most likely named each of these workflow states according to the document lifecycle process in your organisation. In order for the Change History app to capture and display the workflow states in the Change History table on your Confluence page, the following steps require your input.
4.1. Selecting States to Display in the Change History Table
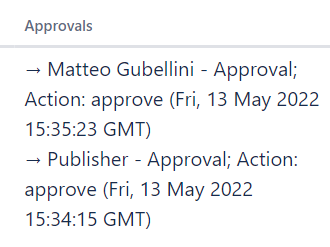
Select all the document approval states that you want to display in the Change History table. An approval workflow state is any state where assigned approvers (or reviewers) accept or reject the content of the document by adding their electronic signature to it.

When a state is added to this field, the following information about the document approval is displayed:
 |
|
4.2. Selecting the Initial State
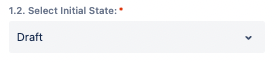
In the Comala Document Management, the initial state is identified as the only state connected to the grey circle. The name of the state can vary.
The Change History app needs to capture the Initial workflow state to determine document revision loops.
4.3. Selecting the Final State
Similarly to the Initial workflow state, you can provide a custom name to the last workflow state where the document version is released/published. In order for the Change History app to capture the Final document workflow state, you are asked to select the final workflow state here.
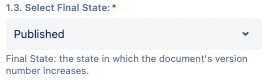
Note that the final state is a state where the document is approved (or published if using Comala Publishing and the feature is active) and the document version number increases.
In the Comala Document Management, the Final state is usually marked with the “final” flag. Note that anyway you can select any state as final for versioning purposes.
4.4. Selecting the Pre-Final State
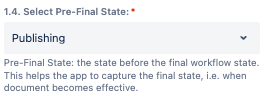
This parameter is required in order for the Change History app to identify when the document is not a “draft” anymore, as a workflow can reach the final state through different paths. The moment the transition between the Pre-Final and the Final states occurs, the Change History app captures the “Release date” of the document.
4.5. Selecting all Draft States
This provides a quick way to visualise whether a document version is in a draft or if it has already been approved / published (without the word “draft” next to the version number).
 |
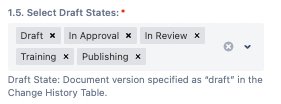 |
In this step you can select all the draft workflow states – any workflow state can be selected except the final one.
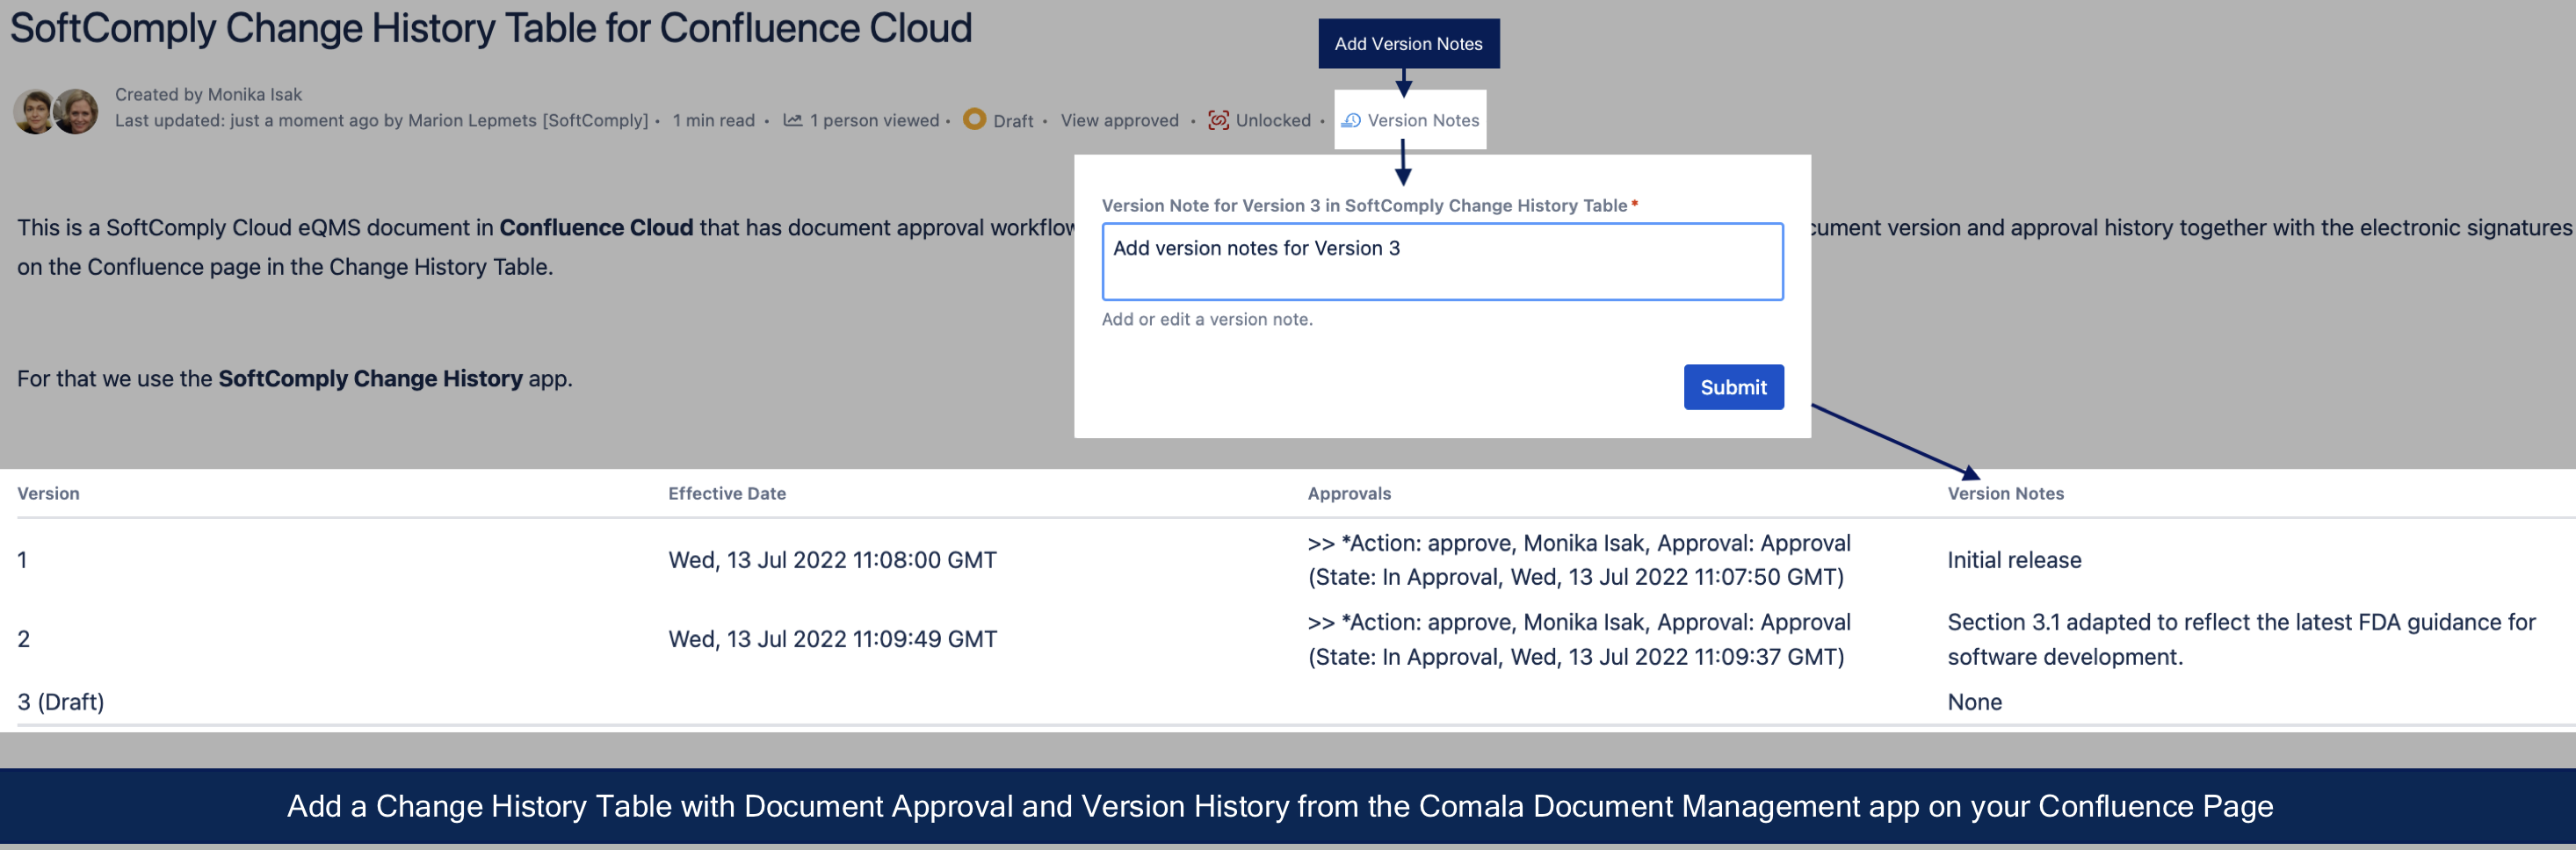
5. ADD VERSION NOTES TO THE CHANGE HISTORY TABLE
The aim of the version notes is to highlight the major changes between different versions of a document. In order for you to capture these version notes in the Change History table, you can add them to the page byline menu item “Version Notes” of the SoftComply Change History app.
Version notes can only be added and edited during the states you have selected on the Configuration page.
Note: the version notes of the Change History are not the same as the Comments in the Comala Document Management app. Only the Version Notes of the SoftComply Change History app are displayed in the Change History table.
On the configuration page, you can select all the workflow states where users have the possibility to add and edit such Version Notes.

If a user attempts to edit the Version Notes in a state that was not selected, an error message will appear.

6. ADDITIONAL INFORMATION YOU MAY WANT TO DISPLAY IN THE CHANGE HISTORY TABLE
As workflows become more complex, you may want to add that complexity to the change history table. These fields are not mandatory.
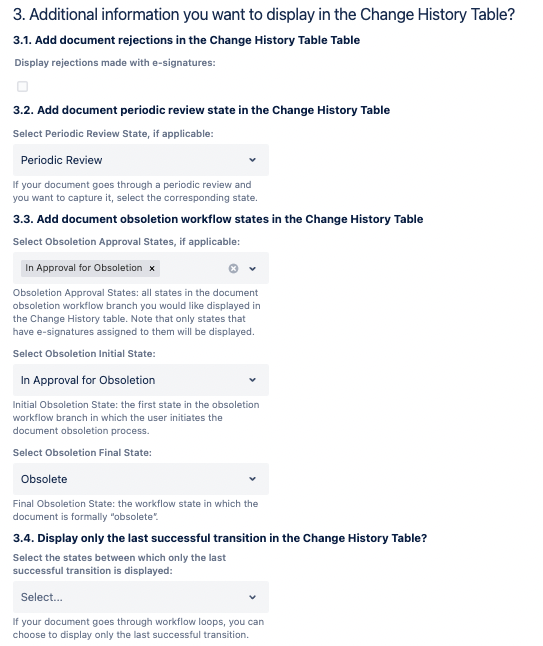
6.1. Document Rejections
You can choose whether to display document rejections made with e-signatures. When you opt in, all rejections will be displayed in the Change History table with the name of the person rejecting the change and the timestamp of e-signature.
6.2. Document Approvals without e-Signatures
You can choose to add all approvals made also without e-signatures to your Change History table when selecting this option.
6.3. Periodic Review State
Some documents require to be reviewed periodically and for that there is usually a designated workflow state. In this state the user decides whether the document needs to be updated or remain the same. If no changes are required, the document returns to its final state but its version number does not increase. The Change History table will record such decision.
In case your workflow doesn’t have a periodic review state or you wouldn’t like to display it, select “Not Applicable” from the dropdown menu.
6.4. Document Obsoletion Approval States
Document obsoletion is often a document workflow branch where a document version goes through a few approvals before being obsoleted. In case you would like the obsoletion related transitions also displayed in the Change History table, select all the obsoletion approval states (states where e-signatures are used), the Initial and the Final Obsoletion States in this step.
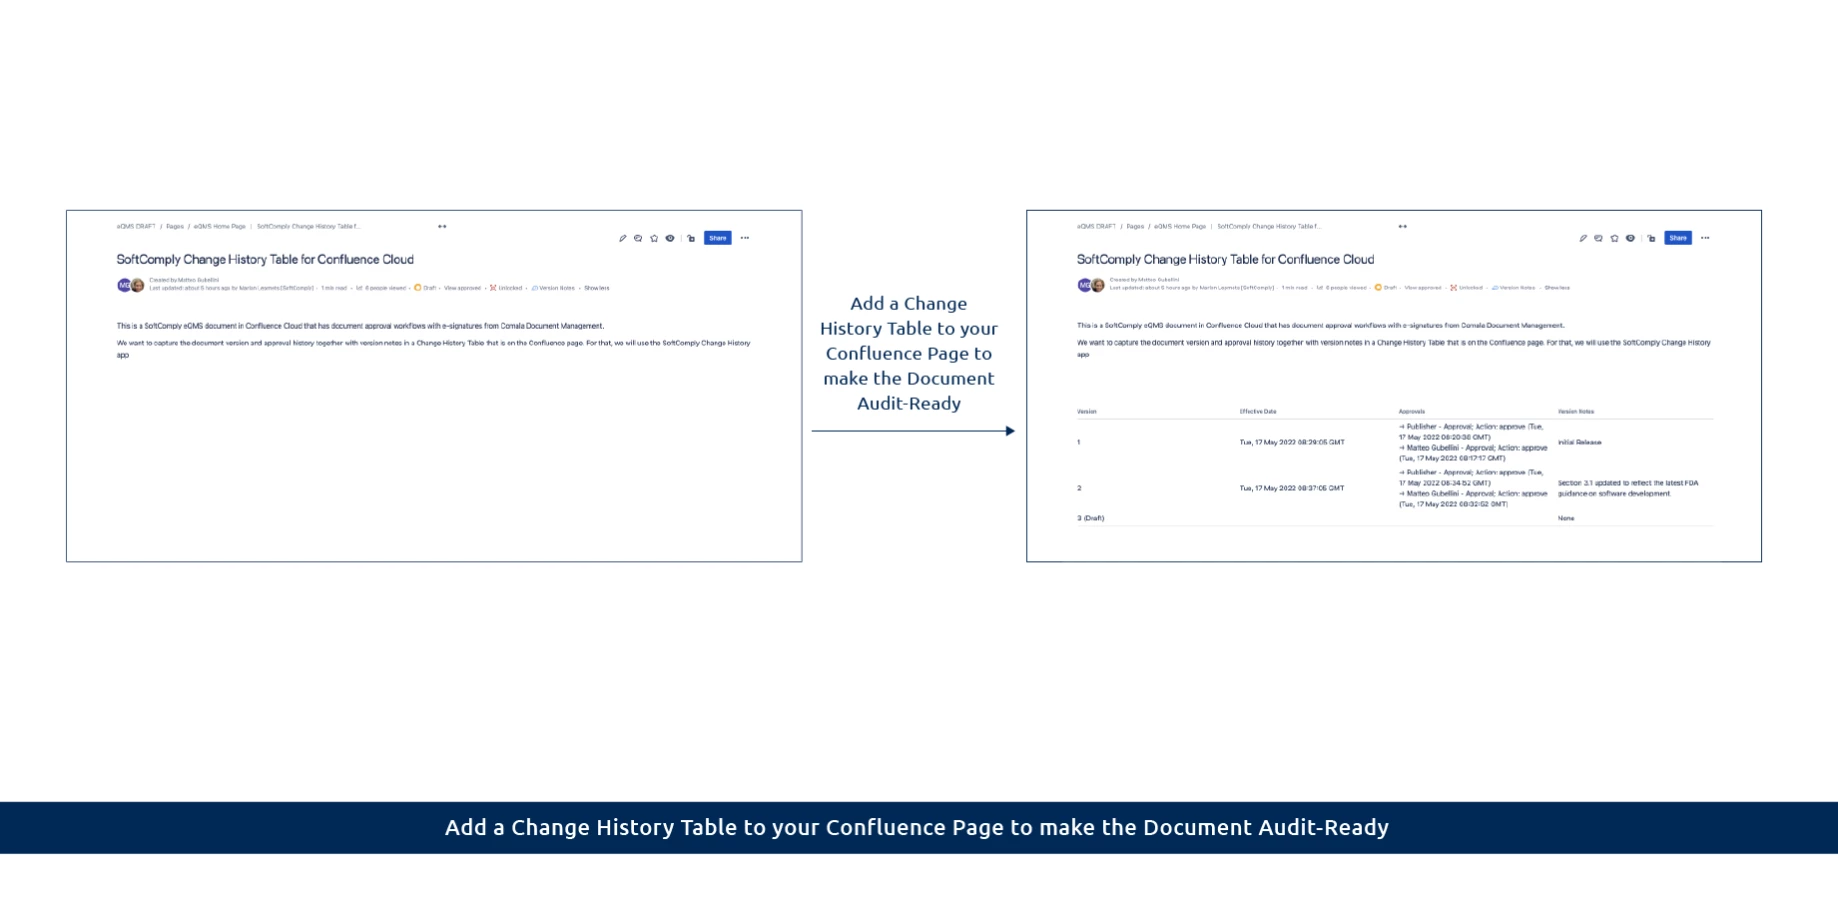
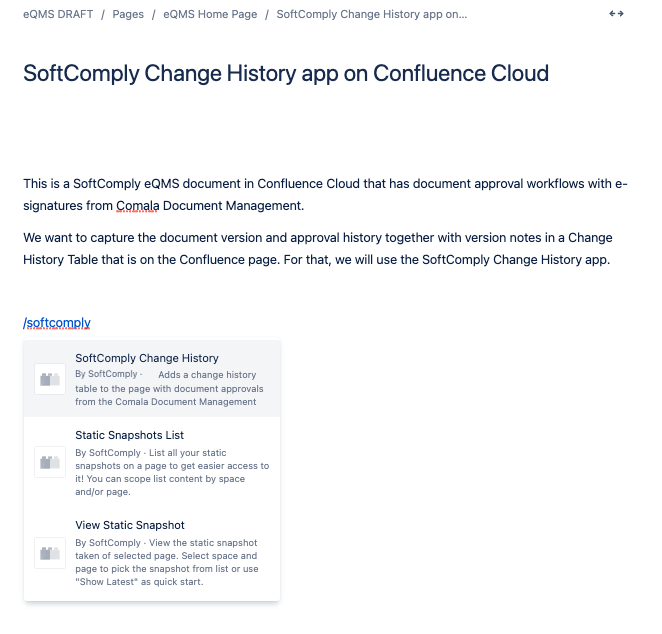
7. ADDING A CHANGE HISTORY TABLE TO YOUR CONFLUENCE PAGE
The SoftComply Change History app is a Confluence macro that you can add anywhere on your Confluence page.
Simply write a forward slash “/” followed by “SoftComply Change History” and you will be able to find the right macro.
8. ADDING NOTES TO A DOCUMENT VERSION
Version notes can be added and edited in the workflow states as long as this has been defined in the Change History app settings, i.e. configuration page.
When your document version is in an approval state where version notes can be added, you will be able to add or edit them from the page byline menu item “Version Notes” of the SoftComply Change History app.

Remember that the version notes can only be added and edited during the selected states from the byline item “Version Notes”. Version notes are not the same as the Comment in the Comala Document Management. Only the Version Notes of the SoftComply Change History app are displayed in the Change History table.
Only one Comment or Note can be added to a document version, i.e. when two approvers are adding Version Notes at the same time, the Notes submitted later will override the previous one.
Once the Version Notes have been saved, they will appear on the Change History table as seen below:
